This is a quick pictorial of some of the tools we use to sharpen our knives. It's not intended to be a tutorial, just a few pictures I took while sharpening a blade, and a look at some of the tools we use every day to make our own fine, hand crafted tools. Enjoy!
First, the edge bevel is set with a coarse stone. This one happens to be my current favorite: a Shapton Professional 320 grit ceramic. Up to this point, our knives have been ground thin, but do not have actual edges on them.
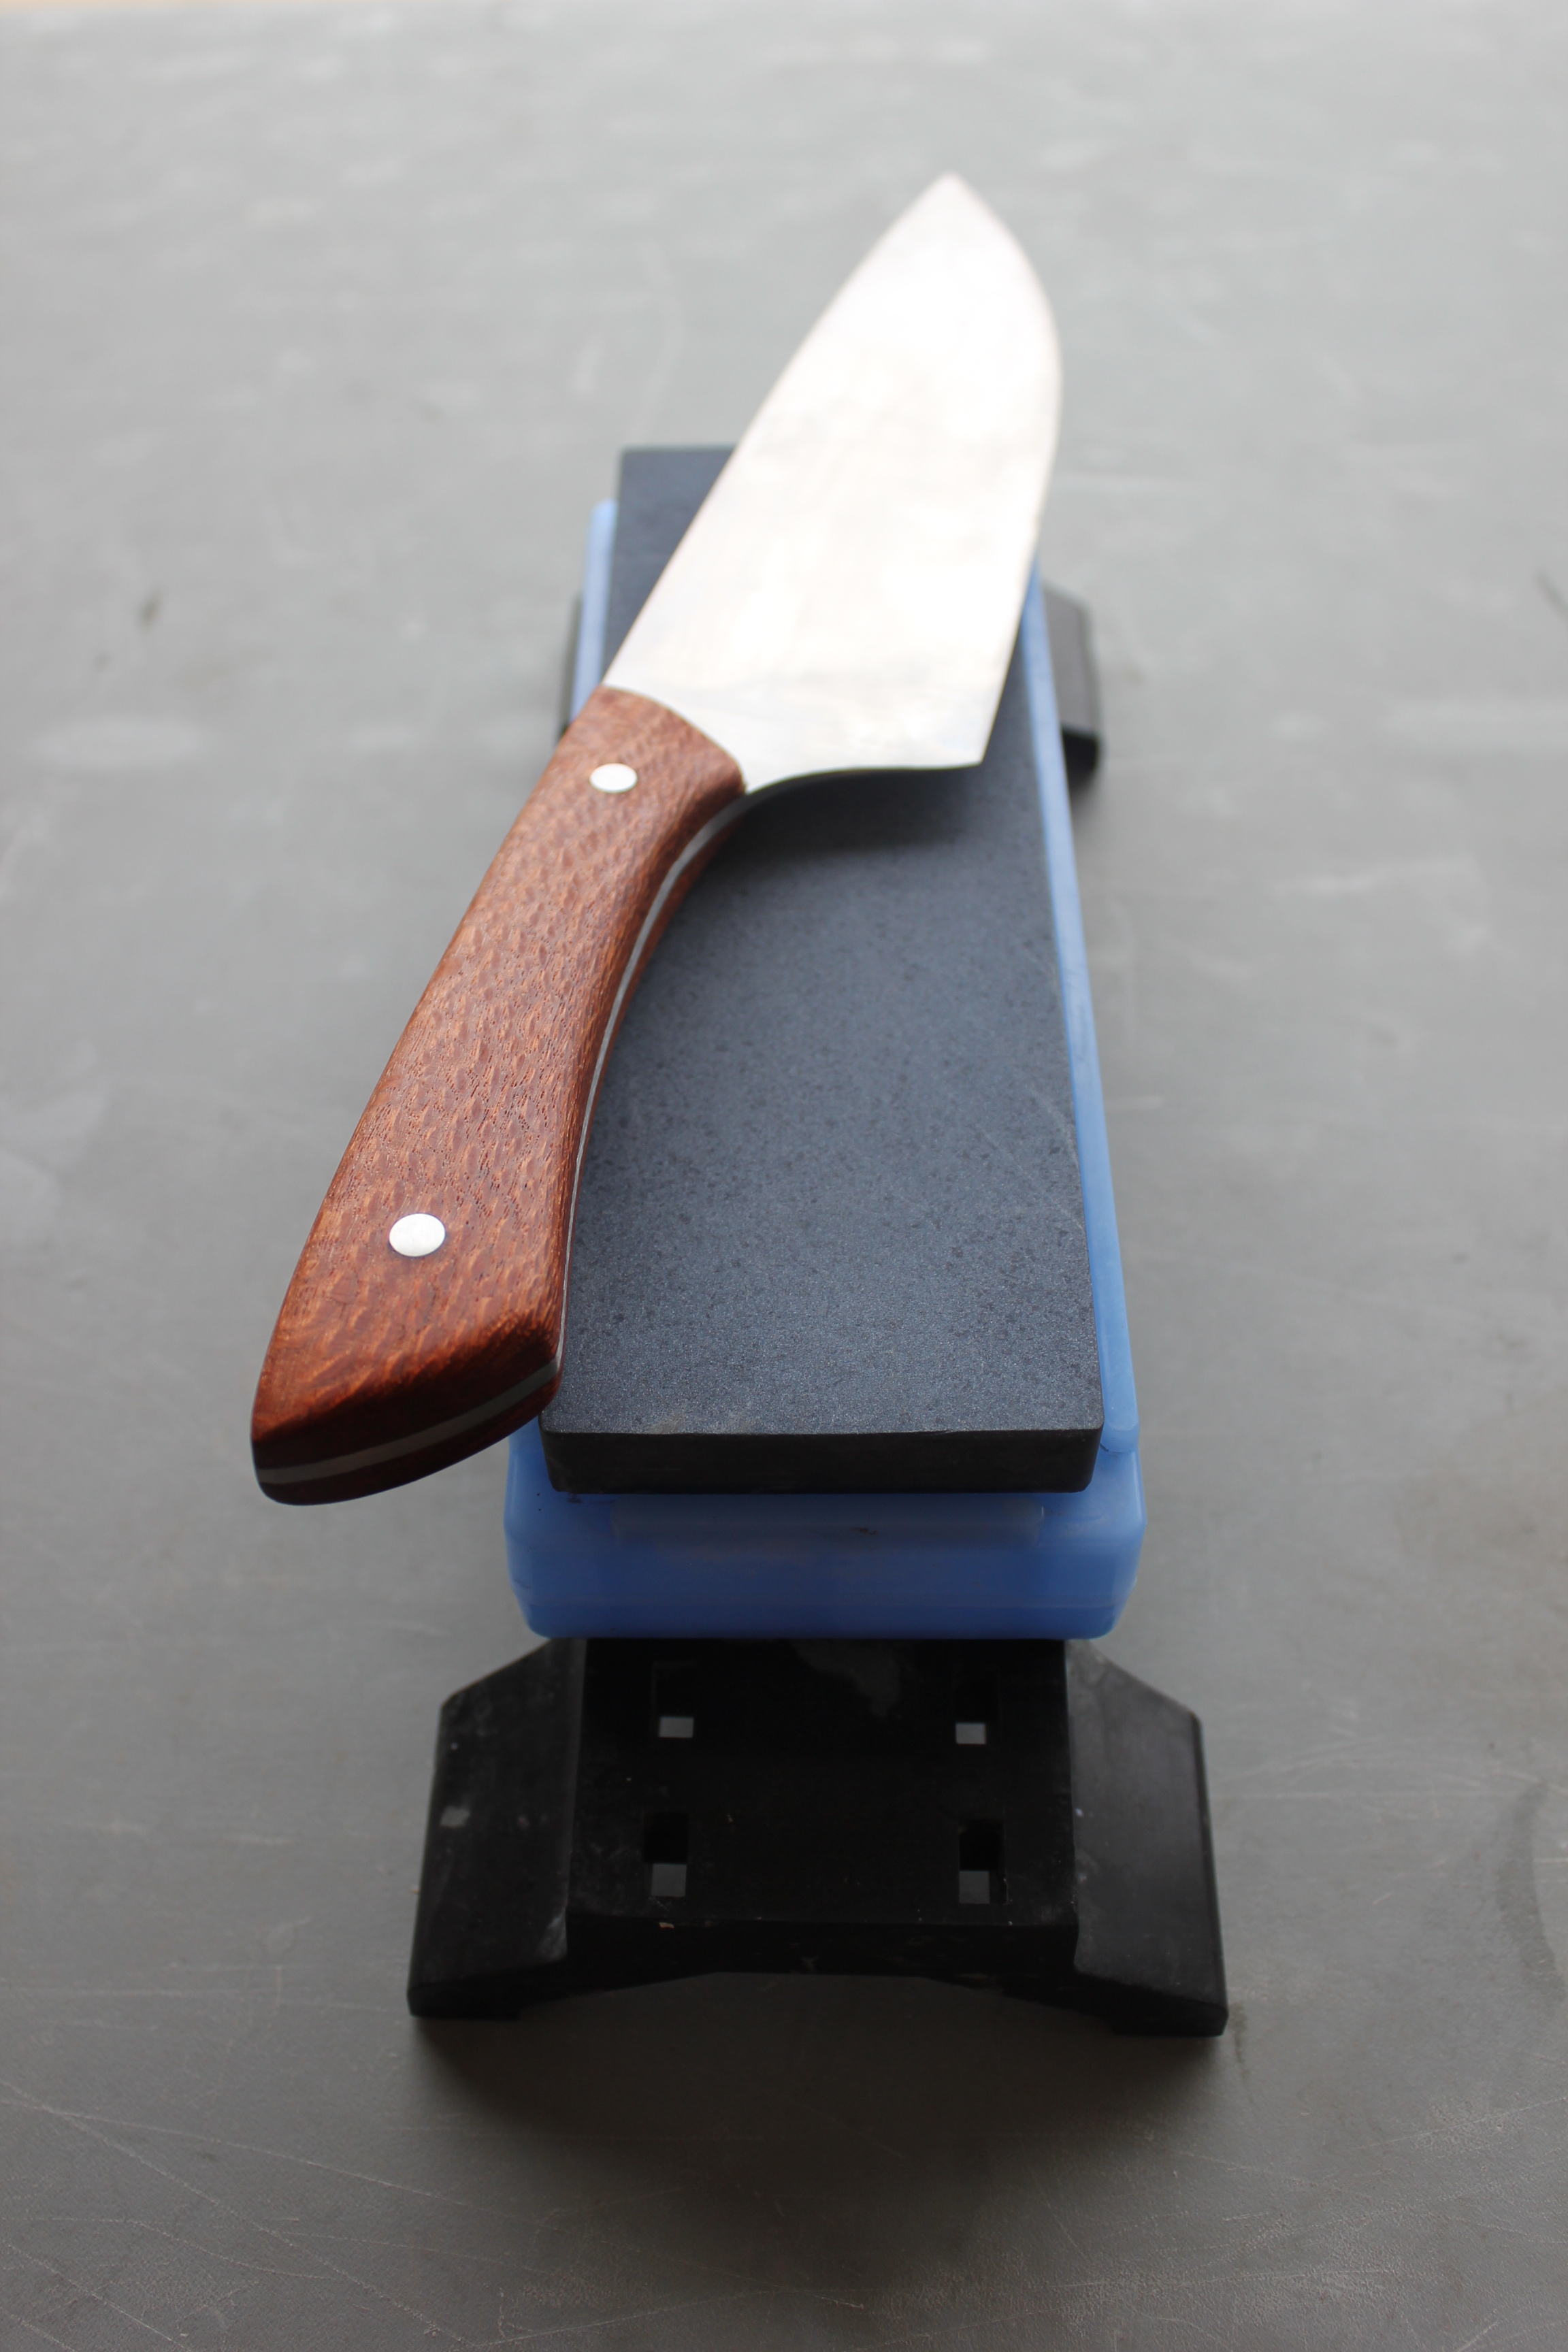
This 8.5" chef is getting it's first edge bevel set. Right now the true edge of the knife is about 0.006" thick, so slightly thicker than a sheet of paper. We'll use stones to abrade away steel until we're left with something that's about 0.5 microns thick (too thin to see) and nearly mirror polished. This stone, a 320 grit ceramic, is the first in a series. It will set the bevel that the other, successively finer grit stones will refine.

Another view of the first stone in the series I use: a Shapton pro 320 grit ceramic.
Once a proper bevel is set and I've removed most of the burr (maybe I'll post a how-to later explaining all this), I move onto a 1000 grit stone made by Naniwa, out of their Professional series. This is considered a medium grit stone, and I absolutely love it. It has the best tactile feel of all my stones and I love the sound it makes.
The green stone you see in the picture below is the 1000, then I move onto a 3000, which is a grey stone soaking under the white on in the picture. A 3000 grit stone is right on the border between medium and polishing stone. it doesn't remove a lot of metal, but it also doesn't quite shine the edge up.
The first real polishing stone I use, a 5000 grit (the wine colored stone, also a Shapton Pro) is very hard and smooth. It doesn't provide a lot of feedback, but refines the scratches from the 3000 grit stone quickly, which I like.
I could easily stop here, but I prefer to go a little further, and that's onto an 8000 grit white stone you see soaking in the water bath below. Each of these stones refines the scratches made by the previous stone such that, as the knife is progressed, the edge gets more and more polished as it gets progressively thinner. Finally at the 8000 grit stone, the edge bevel is nearly mirror polished and will slice most food with but a whisper.

This is by no means the "best" set up. There are dozens of manufacturers making hundreds of different grits that can be mixed and matched as you please. They key is that you're always refining, to whatever end you see fit. Never leave your edge coarse. That's a recipe for a rough and soon-to-dull edge. I've built this set over a few years and have come to like each of these stones for their part in my sharpening regimen, but undoubtedly I'll add others in the mix eventually.
Once the edge is properly and thoroughly sharpened on these stones, it gets honed on a leather strop loaded with 0.5 micron polishing compound to help remove any little bits of burr that might be left and leave an even higher polish on the edge.
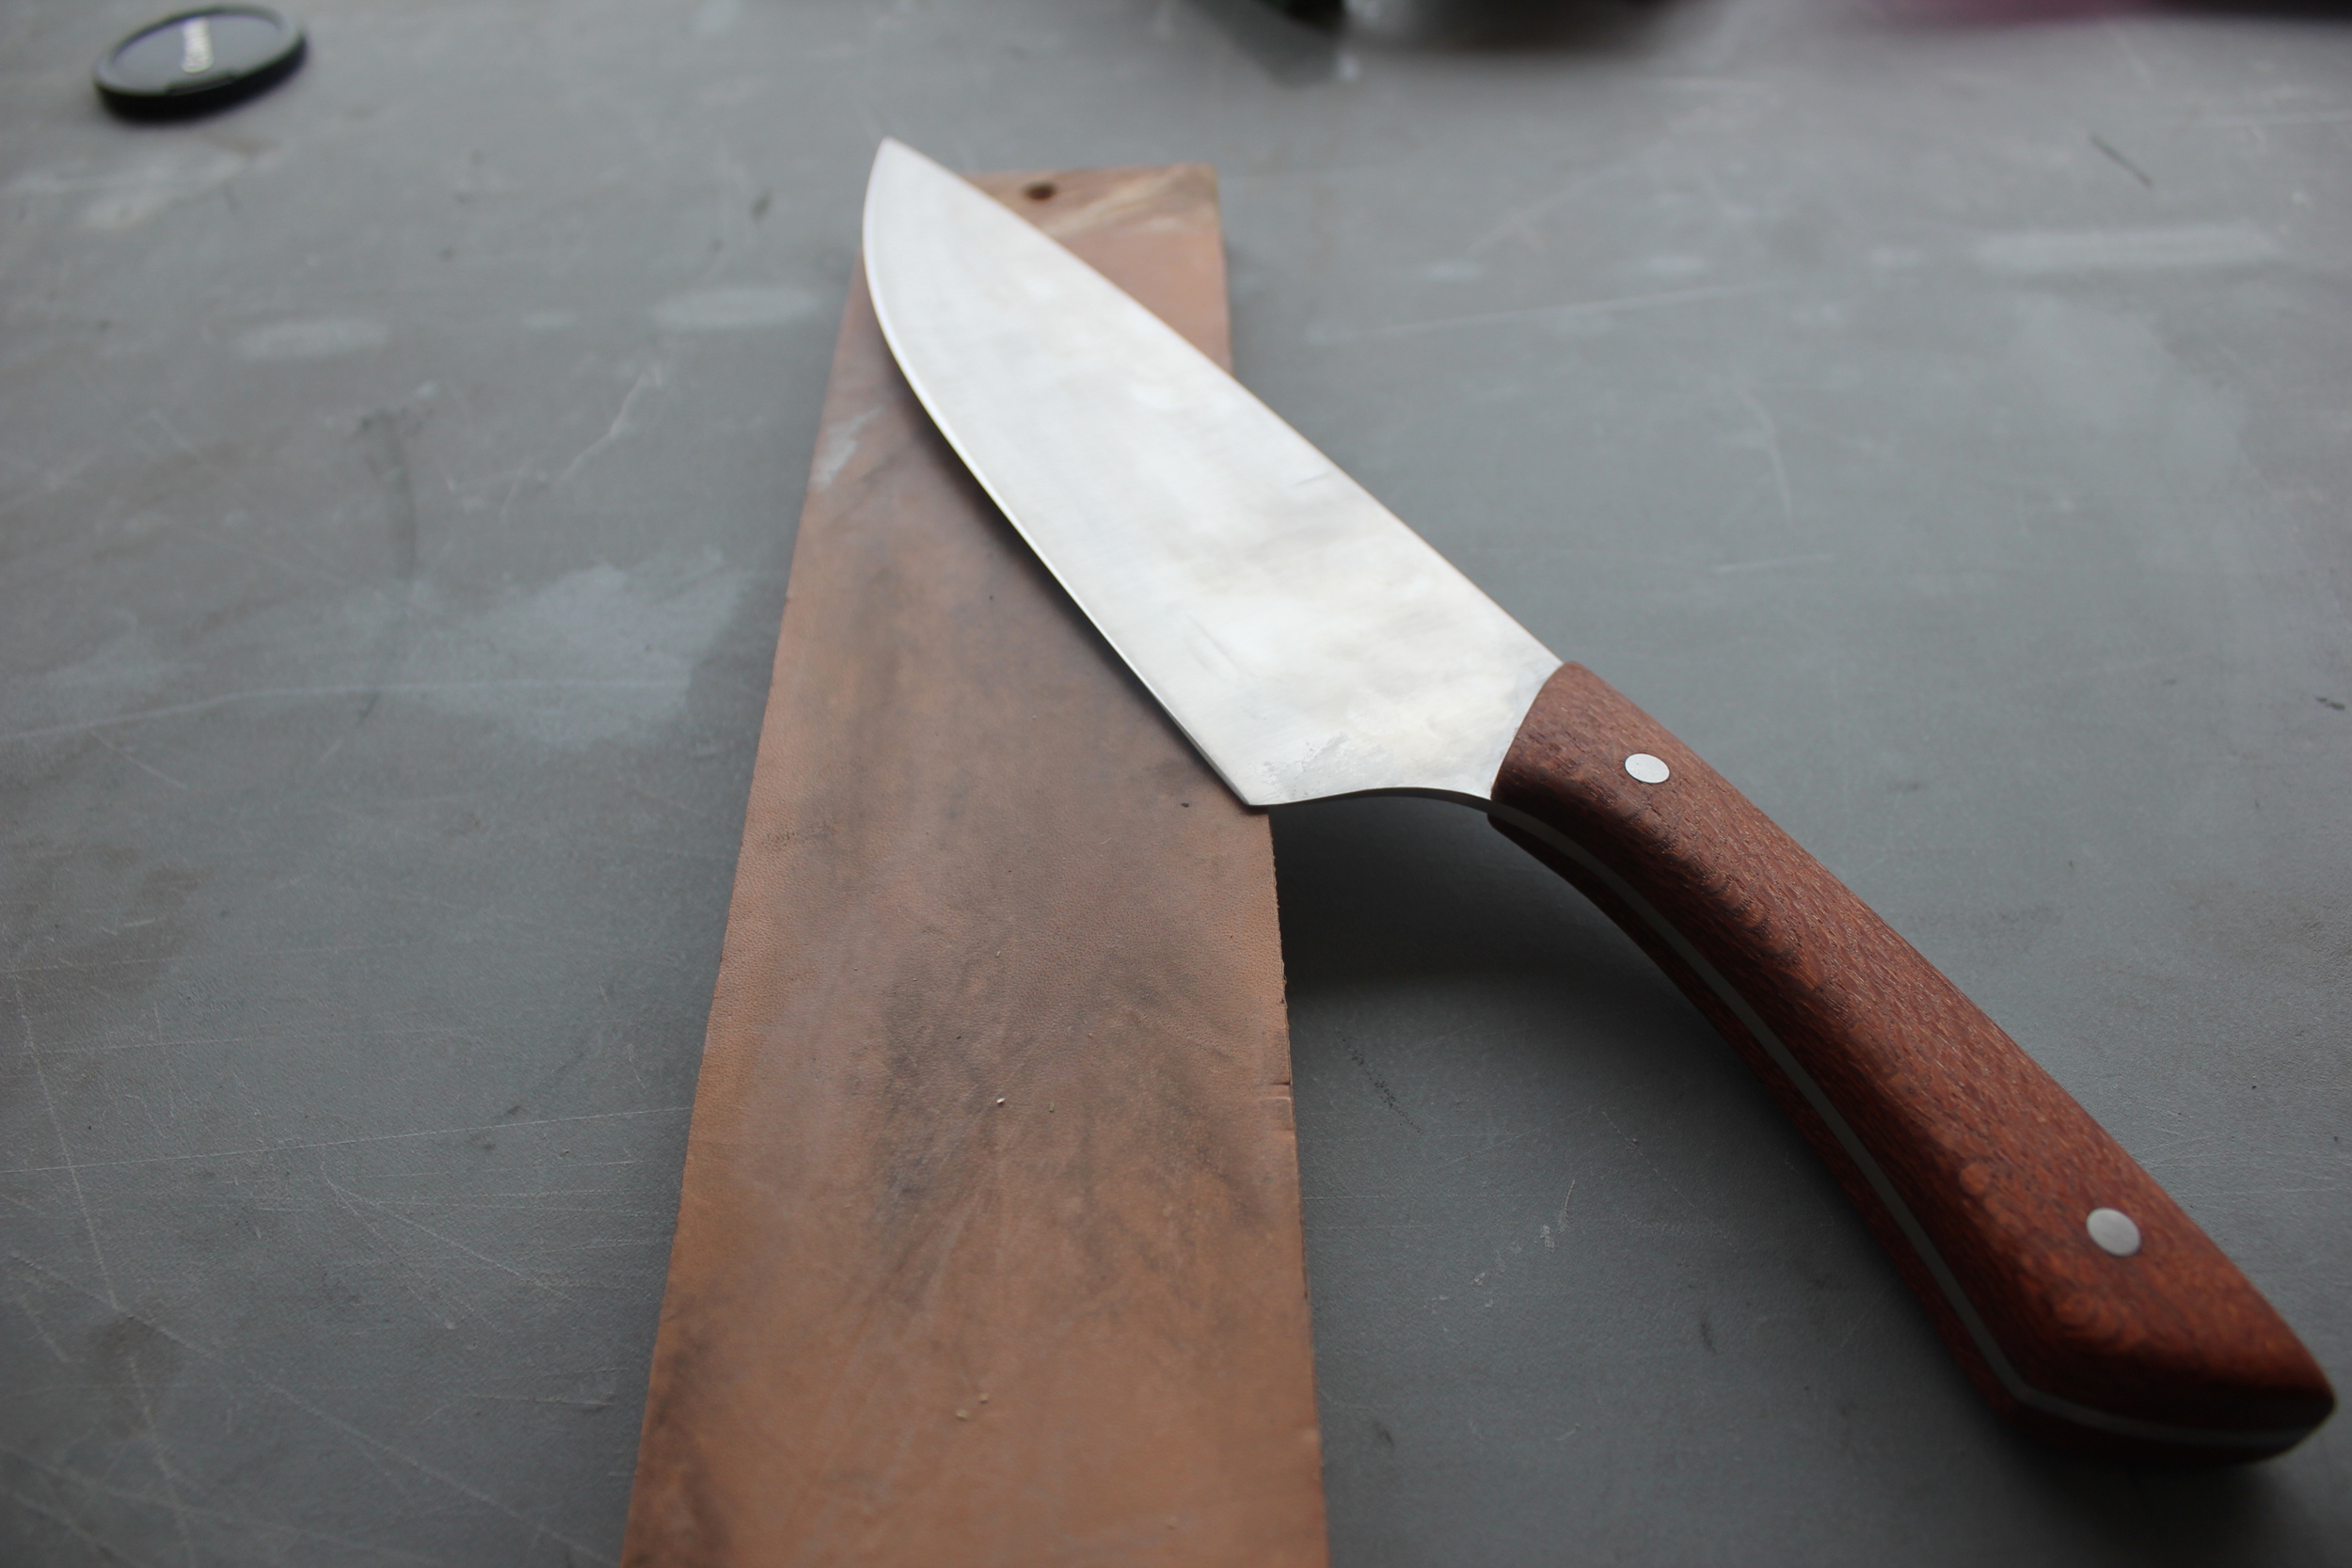
Using a strop backed by wood helps keep the edge from rolling - a common problem when using flexible strops on thin edges.
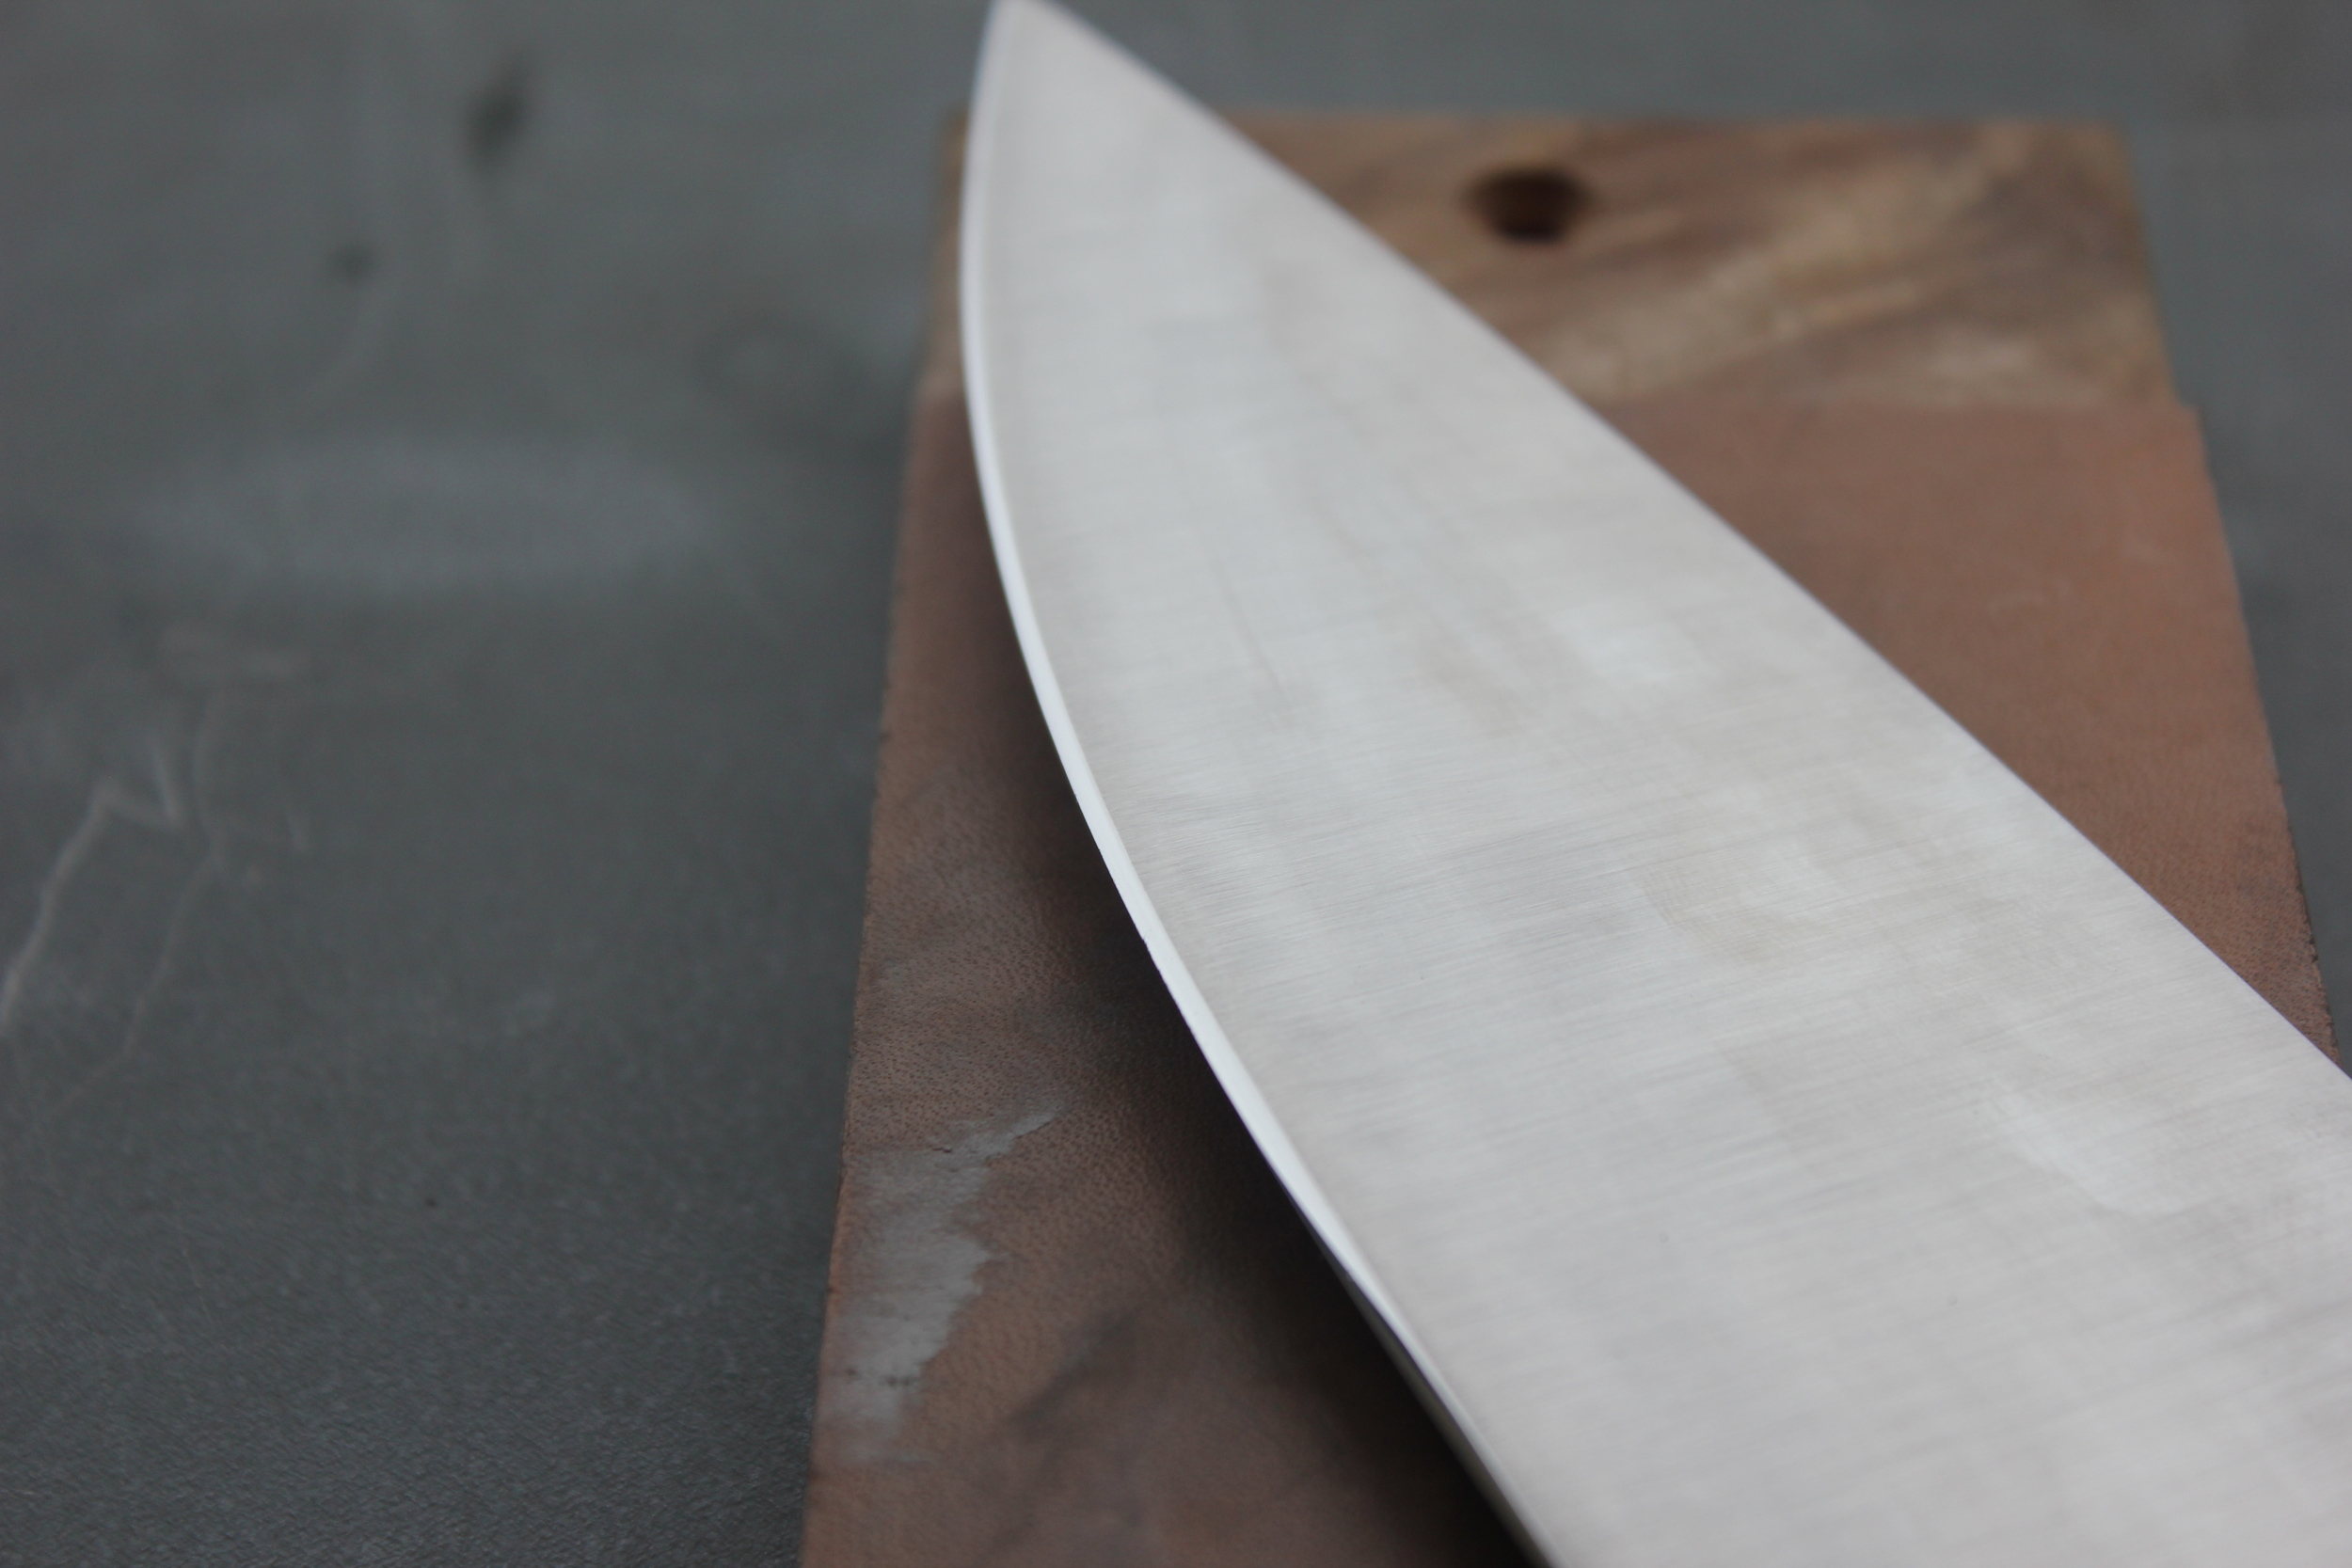
The end of all the work: a mirror polished edge that slices and cuts with incredible ease.
The key to sharpening any knife is to understand it's use, and adjust the edge accordingly. Once can easily get lost in trying to achieve specific angles, chasing down specific stones and arguing over particular grits. But in the end, we typically find edges with a good bit of refinement cut more efficiently and last longer than rougher, toothier edges like the ones most factories put on their knives. And as long as a knife was thin behind the edge, the angle doesn't matter too terribly much. If you've ever been cut by a piece of paper, you understand that thin will cut, no matter what. In simple terms, a knife is a wedge, and it's primary function is to push its way through material. Having a sharp knife means you have to put less effort into doing that.
Hope you enjoyed the pics! Stay tuned for more!